

 CMS: Joomla
This information was taken from http://www.wikihow.com/Install-Joomla
Installing Joomla to content manage your existing site.
To do this you must already have a website domain purchased.
Joomla needs to be installed. It will then 'latch onto' your website index page.
How to install Joomla:
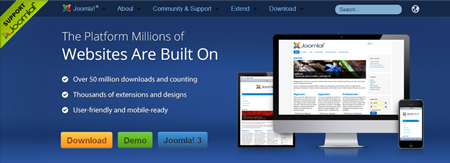
- Go to the download page on the Joomla website by clicking the gold button on the index page and download the zipped file archives.
- Unzip the compressed archive files (you can use WinZip or WinRAR to do this).
- Save the unzipped files in the root directory of your web server. The root directory on an Apache server is usually "c:\apache group\ apache\htdocs" and in Windows it is usually "/usr/local/apache/htdocs." You can also save the files directly under your host server.
- Open your browser and go your website's homepage. This will trigger the Joomla Installer and you should see Joomla's pre-installation check page appear.
- Check the system requirements, PHP settings and directory settings to make sure that your website can run Joomla and that the required permissions have been granted by your web server. Click the "Next" icon on the top-left of the window once you are done.
- Accept the Joomla terms and conditions by ticking the box next to "I Accept the GPL" license and clicking on the "Next button."
- Enter the MySQL database configurations for Joomla. You may want to consult with your website administrator first because the configurations should match the attributes of your Joomla website. Assign the following attributes for Joomla in MySQL. Name of the MySQL database. Name of the MySQL host (also known as "localhost" if you are installing on a local computer or server). MySQL username (this should be the same as the root username of your administrative account provided by your website hosting service provider). MySQL password.
- Hit the "Next" button and verify that your settings are correct by clicking on "OK" in the window that pops up. After you confirm your settings Joomla will try to populate a database using the settings that you have provided.
- Wait for the Joomla Installer to go to step 2 of the installation process. In step 2 you just have to enter your site name and hit the "Next" button.
- Confirm the site URL, path, admin email and admin password in step 3. If you don't enter your own password you should write down the password that has been automatically generated. You can also assign your file permissions and directory permissions associated with Joomla.
- Click on "Next" once you are satisfied with the information that you have provided. This will take you to the last page of the Joomla installation wizard that will tell you that Joomla has been installed successfully.
- Test your website on different Internet browsers to make sure Joomla is working correctly.
WARNING - Installing Joomla incorrectly can cause your website to crash or prevent Joomla content from appearing when people visit your website.
Another way to install Joomla is to manually add Joomla scripts to your web server. However, this method is much more complicated and time-consuming so the easier and preferred method is to use Joomla Installer.
